Having an email signature is a convenient way to include all of your contact information inside of an email without having to type out the information each and every time you compose a new message. In Microsoft Outlook, you can add an email signature and also specify whether or not you want to include the signature in replies to the same email chain, which makes it easy to only share your signature once, and live it out in future emails within the same email chain.
Note: This guide is meant for the online version of Outlook inside Microsoft Office 365, your desktop version may have different menus than the ones shown in the example below.
Here are the steps you need to follow to create an email signature in Office 365:
1: Login to Office 365, click on the “Mail” block
2: In the right hand side of the page, click on the Settings Icon

(Alternatively, you can also click on the question mark and type in “Signature” which will pull up the option to create an email signature instead of having to find the option in the next steps.)
3: On the right hand side of the Settings section, there will be a “Mail” section, make sure that is expanded, then look for “Layout“
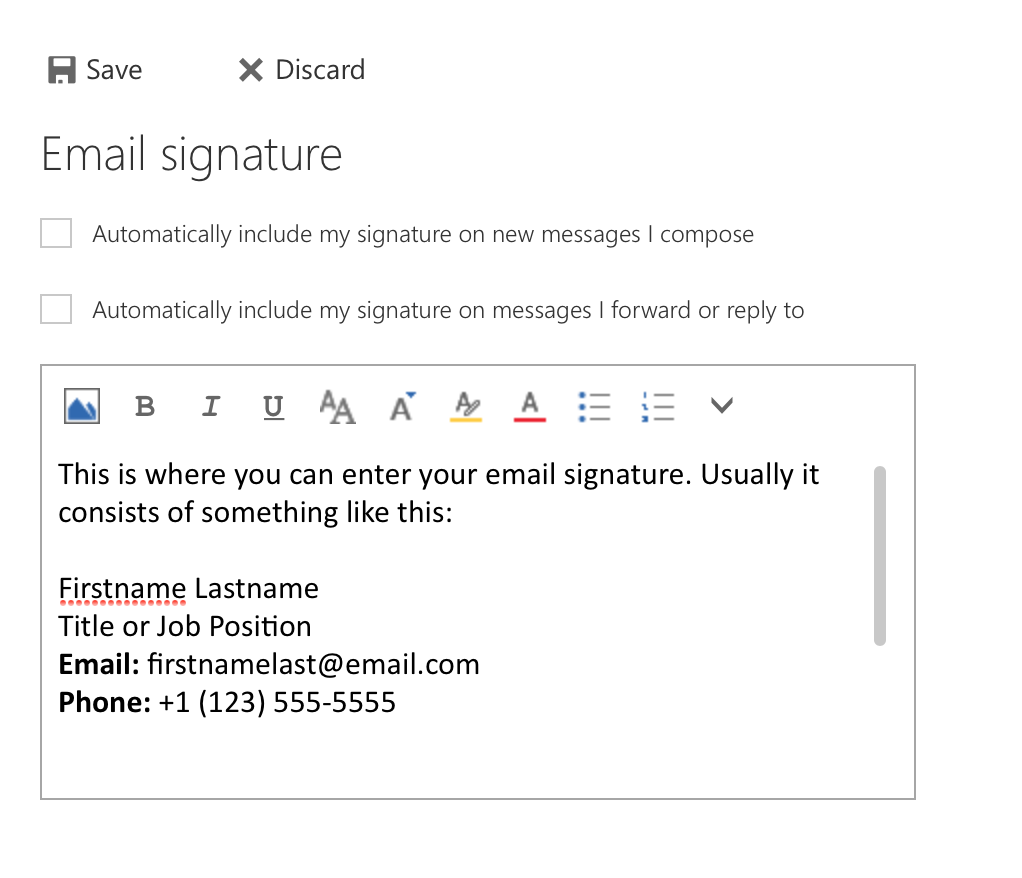
4: Inside the “Layout” section, click on “Email Signature“. Once you have made your signature, click on the “Save” button.

Here you can enter your email signature. Keep in mind that you can insert HTML elements into this section, but they usually need to be copied from another editor and pasted into the box itself, simply writing HTML inside the box will not work.
You can download pre-made HTML styled email signatures from this link: Download HTML Signatures

